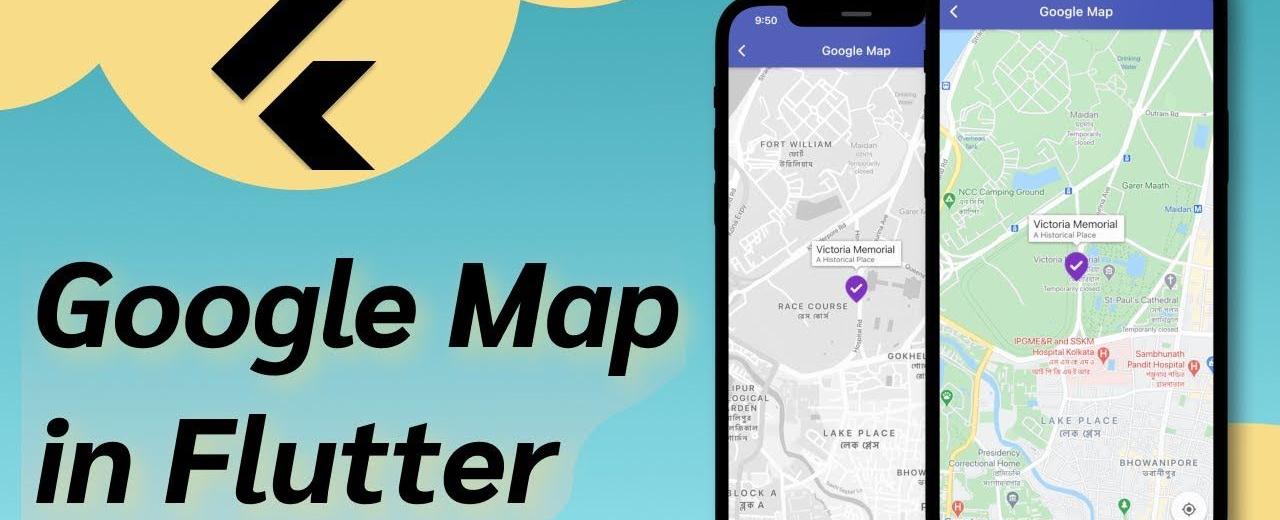

Custom Marker và Info Window trong GoogleMap Flutter - Tập cuối
Hế lô, chào mừng các bạn đã trở lại với phần cuối của series Custom Marker và Info Window. Đối với ứng dụng Native thì custom Info Window khá đơn giản, nhưng với Flutter tính đến thời điểm mình viết bài Blog này (21/12/2022) thì Flutter chưa hỗ trợ cho phần custom này. Vậy nên phần cuối này mình sẽ hướng dẫn các bạn custom Info Window nhé Có 2 hướng để Custom Info Window:
- Sử dụng thư viện Custom info window : Cách này thì có thể thao tác với Info Window nhưng Performance thì chưa ngon lắm
- Convert Widget thành Image để thay thể cho Info Window: Cách này thì không thao tác được với Info Window (không set sự kiện Click cho Info Window được) nhưng Performance thì mượt mà hơn
Mình sẽ hướng dẫn các bạn làm theo cách 1 nhé, còn cách 2 nếu các bạn mong muốn có thể comment bên dưới, hôm nào vui vui thì mình làm. Vậy nhé, chúng ta bắt đầu thôi nào
1. Tạo Widget cho phần hiển thị Info
Mình sẽ làm nó giống như Default thôi, chỉ là có thêm cái icon bên cạnh đoạn text, trông nó sẽ như thế này:

Các bạn có thể sử dụng đoạn source của mình hoặc tự vẽ view khác đẹp hơn, mình hướng dẫn nên mình sẽ làm nó đơn giản thôi nhé
@overrideWidget build(BuildContext context) {return Stack(children: [Align(alignment: Alignment.topCenter,child: Container(padding: const EdgeInsets.all(16),decoration: BoxDecoration(borderRadius: BorderRadius.circular(8),border: Border.all(color: ColorsRes.borderList),color: ColorsRes.white,),child: InkWell(onTap: () => Get.to(const HomeView()), // Chỗ này sẽ là hàm chức năng khi click vào infochild: Row(mainAxisAlignment: MainAxisAlignment.center,mainAxisSize: MainAxisSize.min,children: [Flexible(child: Text(title,overflow: TextOverflow.ellipsis,style: CommonTextStyles.medium,),),Gaps.hGap12,SvgPicture.asset('assets/images/ic_arrow_right.svg',height: 24,width: 24,color: Colors.cyan,),],),),),),],);}
2. Qua phần View để vẽ nó lên nào
- Mình sẽ bắt đầu sửa ở hàm
_markerBuildernhé (Hàm này là hàm khởi tạo Marker ở tập 2 cho bạn nào chưa biết)
Future<Marker> Function(Cluster<PlaceModel>) get _markerBuilder =>(cluster) async {final item = cluster.items.toList().first;final itemLength = cluster.items.length;return Marker(markerId: MarkerId(cluster.getId()),position: cluster.location,icon: await BitmapConvert.convertMarkerBitmap(context,120,text: cluster.isMultiple ? cluster.count.toString() : null,id: item.id,),/// Thêm đoạn code này vào/// Khi bạn Click vào Marker thay vì show Info Default/// Chúng ta sẽ show ra Custom Info vừa vẽ với param name truyền vàoonTap: () => _customInfoWindowController.addInfoWindow!(CommonInfoWindow(title: item.name),item.location,),);}
Nhớ tạo một biến Global
_customInfoWindowController = CustomInfoWindowController();để handle phần hiển thị của Info nhé
3. Hoàn thiện code tại hàm build
Trong hàm build Google Map bọc Widget GoogleMap vào trong Stack vì phần Widget hiển thị lên nó sẽ xếp chồng lên phần view của GoogleMap
Handle phần hiển thị Info window như này nhé:
Stack(children: [GoogleMap(markers: _mapController.markers,initialCameraPosition: const CameraPosition(target: LatLng(35.226642, 136.735311),zoom: 15.0,),onMapCreated: (GoogleMapController controller) {_manager.setMapId(controller.mapId);_customInfoWindowController.googleMapController = controller;},onCameraMove: (position) {_manager.onCameraMove(position);// Khi mà di chuyển trên map thì Info Window sẽ tính toán lại vị trí_customInfoWindowController.onCameraMove!();},onCameraIdle: () {_manager.updateMap();},onTap: (position) {// Ẩn info window đi khi mình click ra vị trí khác không phải Marker_customInfoWindowController.hideInfoWindow!();},),// Đây là Widget custom Info của thư viện ở mục 1// Mình sẽ cần truyền vào controller, còn 3 param width, height, offset là không bắt buộcCustomInfoWindow(controller: _customInfoWindowController,width: 200,height: 65,offset: 40,),],)
- Ô kê vậy là xong rồi, đơn giản đúng không các bạn
- Tuy nhiên như mình đã nói ở trên, vì GoogleMap Flutter chưa hỗ trợ phần Custom này nên performance nó sẽ không được mượt lắm. Hi vọng một ngày nào đó sẽ update để anh em đỡ khổ :D
- Bạn nào có mong muốn mình làm theo Cách 2 thì comment bên dưới cho mình biết nhé. Xin chào và hẹn gặp lại các bạn tại các Series khác nhé
Share
Developer
Expertise
Related Posts


