


Flutter + Fastlane + Firebase App Distribution
Trong bài viết hôm nay, ta sẽ tìm hiểu về Fastlane và Firebase App Distribution, một “combo” hoàn hảo giúp tự động hóa toàn bộ quá trình từ build app, release app cho tới distribute app.
Chuẩn bị
Ta cần cài đặt các công cụ sau.

1. Khởi tạo project và cấu hình Firebase
Đầu tiên, ta sẽ tạo Firebase project tại đây.

Sau đó, đăng nhập Firebase trên local sử dụng Firebase CLI.
firebase login
Sau khi login, Firebase sẽ trả về refresh token, ta sẽ lưu token này để sử dụng cho bước tiếp theo.
Tiếp tục, cài đặt FlutterFire CLI để setup Firebase cho Flutter.
dart pub global activate flutterfire_cli
Thêm firebase_core vào project.
flutter pub add firebase_core
Chạy lệnh sau để khởi tạo Firebase app và cấu hình Firebase.
flutterfire configure
Ở bước này, ta sẽ chọn project là project vừa tạo, sau đó nhập app id (Android) và bundle id (iOS). Chỉ đơn giản như vậy, việc còn lại là chờ Firebase tạo 2 app Android/iOS và cài đặt các file tương ứng cho project.

2 app được tạo bởi Firebase cho Android và iOS.
2 file cấu hình cho Firebase là google-services.json (Android) và GoogleService-Info.plist (iOS) cũng được thêm vào project folder mà không cần phải cài đặt thủ công.
Tiếp theo, ta sẽ kích hoạt App Distribution cho 2 app vừa tạo.
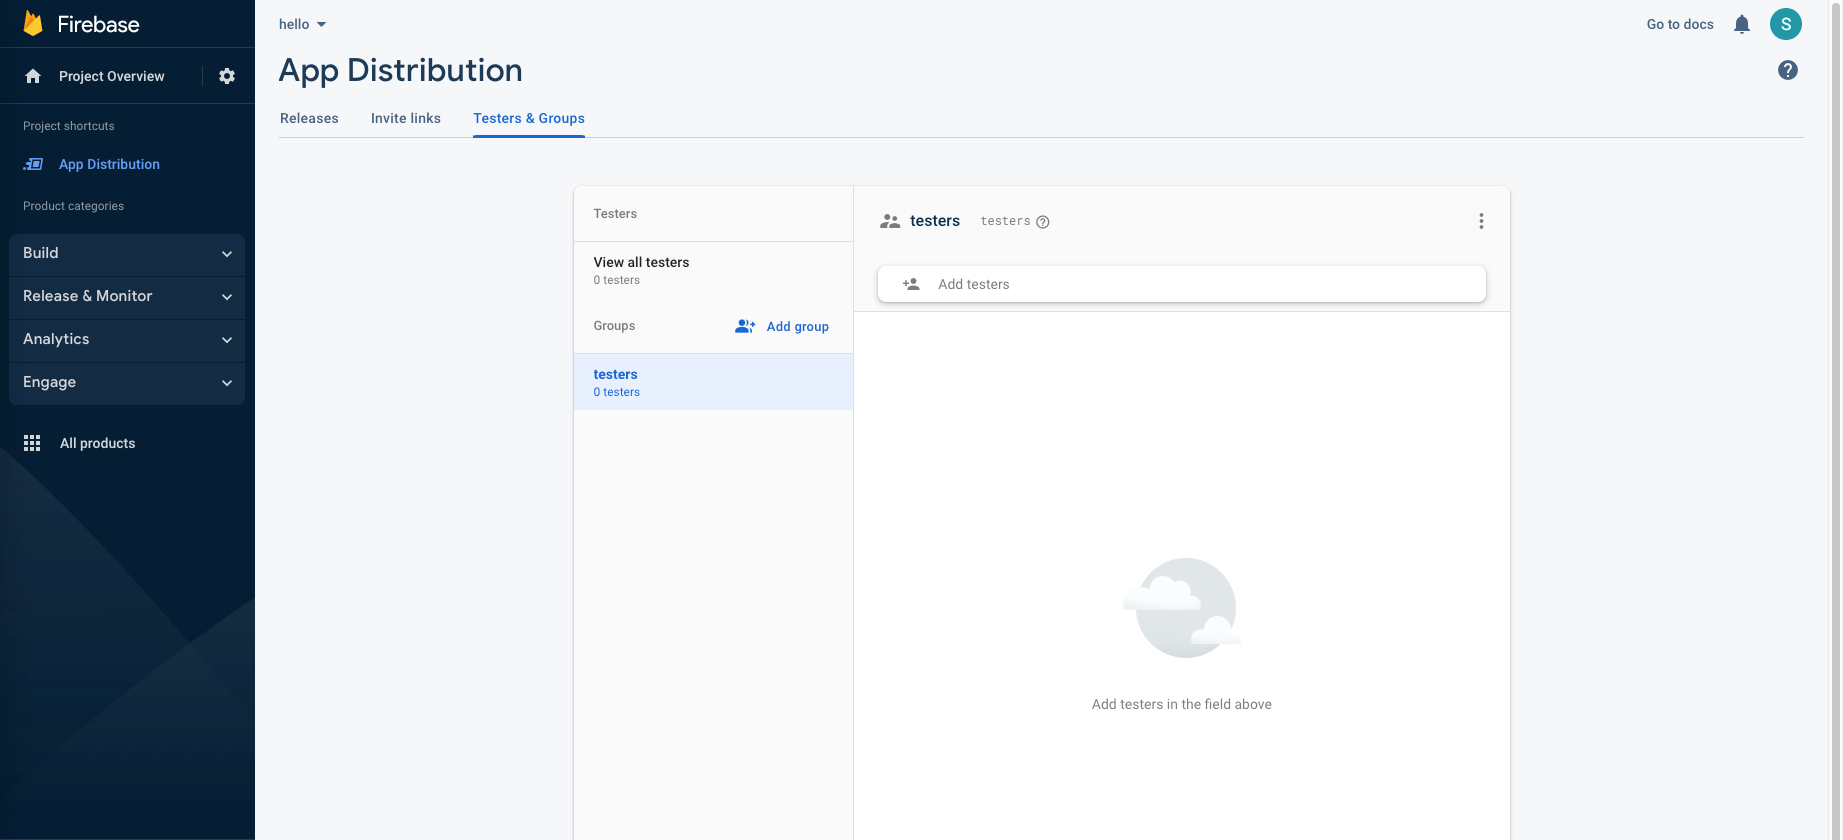
Cuối cùng, thêm testers và group testers vào Firebase.
Đến đây, ta đã hoàn thành bước thứ nhất - chuẩn bị project và cấu hình Firebase. Giờ ta sẽ sang bước thứ hai - setup Fastlane.
2. Setup Fastlane
Để setup Fastlane cho Flutter, ta cần setup riêng cho iOS và Android.
2.1. iOS
Đầu tiên, từ thư mục root của project ta di chuyển vào thư mục /ios.
cd ios/
Sau đó, chạy lệnh sau để khởi tạo fastlane.
fastlane init
Khi này, Fastlane sẽ tạo folder fastlane trong thư mục /ios, bao gồm các file:
- Appfile: lưu trữ các thông tin quan trọng được sử dụng xuyên suốt Fastlane như Apple ID, Bundle Identifier, …
- Fastfile: là file quan trọng nhất của Fastlane, chứa toàn bộ cài đặt và cấu hình các lane để thực hiện các tác vụ tự động hóa như build app, release app hay deploy app.
Tiếp theo, ta cài đặt plugin firebase_app_distribution cho Fastlane.
fastlane add_plugin firebase_app_distribution
Đối với iOS, để build app và deploy lên Firebase, ta cần thêm một bước đó là Code signing. Trong bài viết này, ta sẽ dùng match để tự động hóa toàn bộ quá trình cài đặt và sử dụng certificate/provisioning profile. Vì vậy, ta sẽ chạy lệnh sau để khởi tạo match.
fastlane match init
Sau khi khởi tạo match, mở file Fastfile trong thư mục /ios/fastlane và thay thế đoạn code ban đầu bằng đoạn code sau.
default_platform(:ios)platform :ios dolane :beta domatch(app_identifier: ["app.bundle.id"],git_url: "https://github.com/example/example-cert.git",type: "development",git_branch: "master",readonly: true,force: false)clean_build_artifactsbuild_app(scheme: "Runner",archive_path: "./build/Runner.xcarchive",export_method: "development",configuration: "Release",output_directory: "./build/Runner")firebase_app_distribution(app: "1:123456789123:ios:2411e1234567d02df6",firebase_cli_token: "1//0eFiUnmw0hkpSDgYIARAAGA4SNwF-A9c9HBcX5P_qPkX7PaEFRsMMzQR_vdtEt0vJanCluQ5C4Y21O1jkcagBNVWAfmHeQCxizR4",ipa_path: "./build/Runner/Runner.ipa",groups: "testers")endend
Mô tả options:
default_platform: Khai báo môi trường sử dụng là iOS hoặc Android.
match: Quản lý và đồng bộ certificate/provisioning profile.
- app_identifier: App bundle ID.
- git_url: URL của repo chứa certificate/profile.
- type: Type của provisioning profile cần tạo (development, appstore, …).
- git_branch: Nhánh dùng để lưu certificate/profile.
- readonly: Sử dụng certificate/profile đã tồn tại và không tạo mới. Lưu ý: lần đầu chạy match sẽ đặt là false.
- force: Làm mới profile mỗi lần chạy match.
clean_build_artifacts: Xoá những file thừa khi chạy Fastlane gym, cert, sigh hoặc download_dsyms.
build_app: Build app iOS archive.
- scheme: Project’s scheme.
- archive_path: Đường dẫn tới file archive được tạo.
- export_method: Phương thức sử dụng để xuất ra file archive (app-store, validation, ad-hoc, package, enterprise, development, developer-id and mac-application).
- configuration: Build config được sử dụng khi build app (mặc định là Release).
- output_directory: Đường dẫn tới file ipa được lưu.
firebase_app_distribution: Firebase App Distribution.
- app: Firebase App ID.
- firebase_cli_token: Refresh token sau khi đăng nhập Firebase bằng Firebase CLI (lấy ở phần 1).
- ipa_path: Đường dẫn tới file ipa được tạo.
- groups: Nhóm tester được gửi link invite sau khi upload app thành công.
Như vậy, ta đã hoàn thành bước setup Fastlane cho iOS, tiếp tục tương tự với Android.
2.2. Android
Đầu tiên, từ thư mục root của project ta di chuyển vào thư mục /android.
cd android/
Sau đó, chạy lệnh sau để khởi tạo fastlane.
fastlane init
Tương tự iOS, Fastlane sẽ tạo folder fastlane trong thư mục /android, bao gồm 2 file là Appfile và Fastfile.
- Appfile: lưu trữ các thông tin như json_key_file và package_name.
- Fastfile: file cấu hình và cài đặt lane để tự động hóa các tác vụ như build app, release app hay deploy app.
Tiếp theo, ta sẽ cài đặt plugin firebase_app_distribution cho Fastlane bằng lệnh sau.
fastlane add_plugin firebase_app_distribution
Sau bước cài đặt, ta sẽ copy đoạn code sau vào Fastfile, thay thế cho đoạn code ban đầu.
default_platform(:android)platform :android dolane :beta dogradle(task: "clean")gradle(task: "assemble",build_type: "Release")firebase_app_distribution(app: "{firebase_app_id}",firebase_cli_token: "{input_your_token}",apk_path: "../build/app/outputs/flutter-apk/app-release.apk",groups: "testers")endend
Mô tả options:
gradle: Gradle actions.
- task: Gradle task cần thực thi. Ví dụ: clean, bundle, test.
- build_type: Build type cho task. Ví dụ: Release, Debug.
firebase_app_distribution: Firebase App Distribution.
- app: Firebase App ID.
- firebase_cli_token: Refresh token sau khi đăng nhập Firebase bằng Firebase CLI (lấy ở phần 1).
- apk_path: Đường dẫn tới file apk sau khi build app.
- groups: Nhóm tester được gửi link invite sau khi upload app thành công.
Đến đây, ta đã hoàn thành việc setup Fastlane cho cả iOS và Android. Tiếp theo sẽ là bước quan trọng nhất - build và deploy app lên Firebase App Distribution.
3. Build & Deploy
Với iOS, từ thư mục root của project ta di chuyển vào thư mục /ios. Sau đó chạy lệnh sau để build và upload file ipa lên App Distribution.
fastlane beta
beta là lane trong Fastfile.
Với Android, từ thư mục root của project ta di chuyển vào thư mục /android. Sau đó chạy fastlane beta tương tự iOS để build và upload file apk lên App Distribution.
Sau khi hoàn thành, ta vào Firebase và thấy được kết quả.
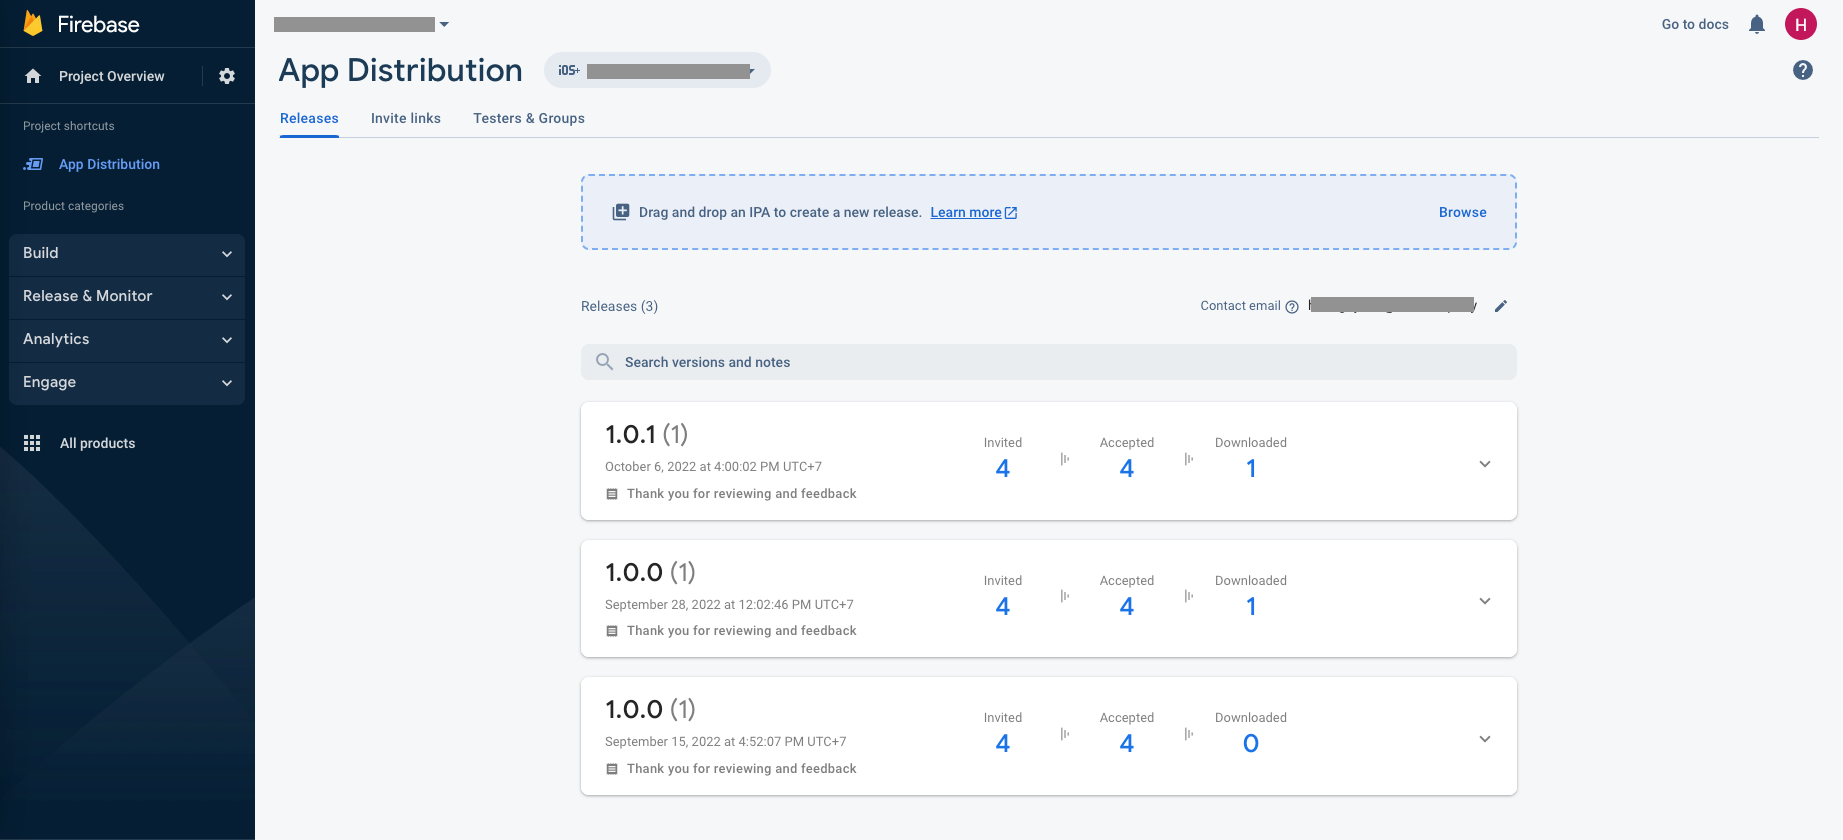
Vậy là ta đã hoàn thành việc build và deploy app lên Firebase. Từ những lần sau, chỉ cần thay đổi version code, build number và chạy fastlane beta, mọi việc còn lại đã có Fastlane lo.
Tham khảo
Expertise
Related Posts


Custom Marker và Info Window trong GoogleMap Flutter - Tập cuối
December 21, 2022
2 min


Custom Marker và Info Window trong GoogleMap Flutter - Tập 2
December 19, 2022
1 min
Functional Interface trong Java 8 (Phần 2) - Cách triển khai
December 06, 2022
2 min
